


Eedomus and RFXUSB
From eedomus - Documentation
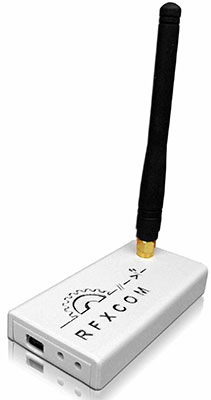
The RFXtrx433 RFXCOM (that we also called RFXUSB) is a usb device compatible with the eedomus box. It uses the 433Mhz frequency to communicate with a set of different wireless devices.
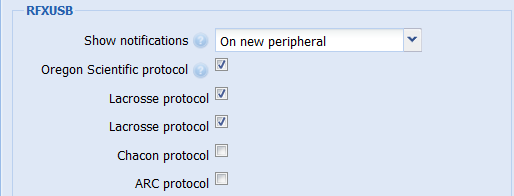
The Oregon Scientific, Lacrosse, Chacon/DIO and ARC protocols are currently supported with the eedomus box.
Contents |
Use with eedomus box
- Plug in the RFXUSB
- Wait about 1 minute. A new RFXUSB section should appear in the box configuration. Select the protocol you wish to use.
Important: activate the minimum amount of protocols. A large set of activated protocols will have a negative influence on the RFXUSB performance.

Creating sensors
Automated procedure
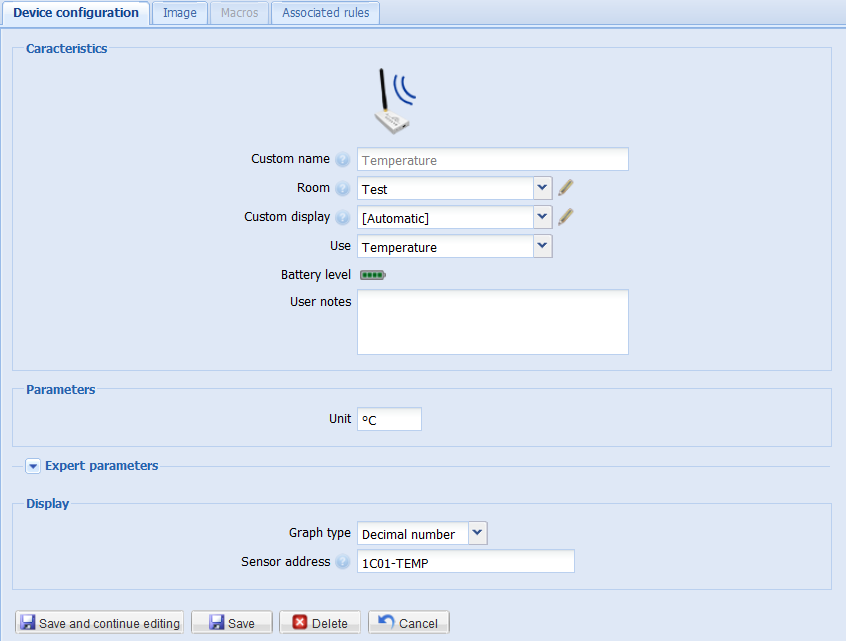
If there are alive sensors reachable by the RFXUSB, notifications will appear on the eedomus portal. You then need to click on the device address, enter the needed fields, save and you are done!
Manual procedure
Otherwise, you can manually add a RFXUSB device by clicking on Configuration' / Add or remove a device / Add another type of device
Supported devices
The RFXUSB support a large number of devices that use different protocols but for some particular uses like rainfall, there is a limited list of supported devices. That is why, you will find below some lists of supported devices for specific goals:
Rain gauge:
- Oregon Scientific: RGR126/682/918/928, PCR800
- TFA (all models?)
- UPM RG700
- Lacrosse Technology: WS2300, TX5
Wind gauge:
- Oregon Scientific: WTGR800, WGR800, STR918, WGR918, WGR928
- TFA (all models?)
- UPM WDS500
- Lacrosse Technology: WS2300
Creating actuators
Automated procedure using a remote control or a on/off switch
If a remote control or switch already controls your devices, you can use the automated creation procedure. When the Chacon protocol is activated in the box configuration, each frame from a remote control or switch will cause a notification to be thrown. The procedure is then the same as the one for sensors.
Manual procedure
Otherwise, you can use create actuators manually. You can face two cases:
- You want to add a Chacon or DIO device (with a button to launch learn mode):
- Plug your device
- Add a "RFXCOM USB - Actuator". Enter an address that has 8 hexadecimal (decimal character or letter from A to F) digits. the allowed range start at 00000001 and ends at 03FFFFFF
- Verify that this address is not already used by another "RFXCOM USB - Actuator"
- Press the learn button
- Send an order to the device using the eedomus portal or the Android or iOS application.
- The device has correctly learned if you can control your device
- You want to add a ARC device (old devices, address given by code wheels)
- Plug your device
- Add a "RFXCOM USB - Actuator". Enter the address given by the code wheels:a letter from A to P followed by a number from 1 to 16 (ex: B2)
- Verify that this address is not already used by another "RFXCOM USB - Actuator"
- Send an order to the device using the eedomus portal or the Android or iOS application.
