EnOcean
From eedomus - Documentation
Benefits of EnOcean technology
EnOcean technology is based on the transmission of data from devices that don't require batteries. Some sensors are powered by a photovoltaic cell, others use energy provided by mechanical contacts.
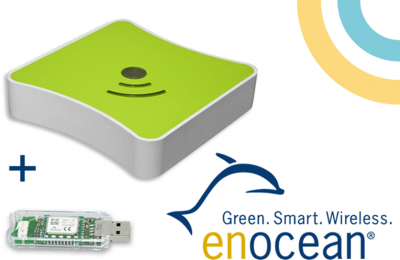
The EnOcean dongle is an USB device compatible with the eedomus box and allow communication with devices using the EnOcean protocol.
In Europe, EnOcean use the 868Mhz frequency band, and all devices must use the same frequency to communicate amongst themselves.
Use with the eedomus box
- Step 1: Connect your EnOcean dongle into a free USB port of your eedomus box.
- Step 2: After about 1 minute, you will be able to add EnOcean devices from the eedomus portal (see below).
Warning
The adding of EnOcean sensors works differently from Z-Wave devices.
Do not add an "EnOcean sensor", click on the sensor to make it talk (while EnOcean dongle is plugged). A notification will appear on eedomus. Click on the link in the notification. This will ease the process.
Step 1: connect the EnOcean dongle
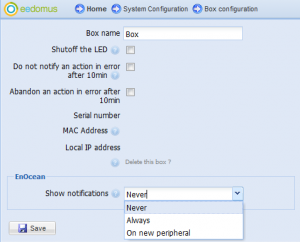
The good recognition of the EnOcean dongle by the eedomus box is visible in the configuration of the device eedomus box :
The EnOcean notifications are configured on An new device by default. You may then change to Never' once you have finished the process.
Step 2: Automated creation
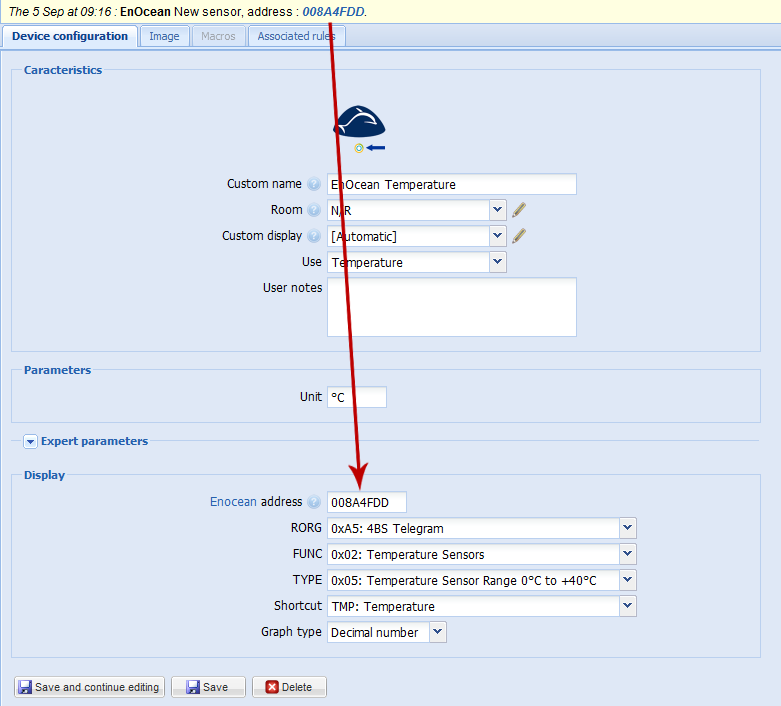
If sensor devices (eg temperature sensor STM 330) is active in the environment of EnOcean dongle, notifications will coming on the eedomus portal. To facilitate the creation of devices with the eedomus box, it is recommended to press the LRN button on your device if it has one. Then simply click on the address of the device to initiate its creation. You will just need to fill the necessary fields, and save.
You must then select the Shortcut associated with your sensor. This is the type of information you want to appear in the eedomus portal and one sensor can't be associated with several Shortcut. Thus, for a temperature and humidity sensor for example, you have to add a first sensor with the Shortcut TMP (for temperature), and a second with the Shortcut HUM (humidity).
To find datas that can be sent by your device, refer to the user manual, or EnOcean profiles list. Finally, chose whether the EnOcean device send a list of values (like a button or a PIR, for example) or a decimal value (such as a temperature).
Alternative Step 2: Manual creation
If during an automated creation, fields RORG, FUNC and TYPE are not filled, you can refer to the user manual of your sensor and enter them manually. These fields correspond to the profile that will be used for this device. For example, a temperature sensor range 0/40°C will have for RORG: 0xA5, FUNC: 0x02, and TYPE: 0x05. You can also refer to the list of EnOcean profiles to know these fields.
You can also add at any time an EnOcean device by clicking on Configuration / Add or remove a device / Add another type of device, in the Radio extensions category.
Step by step example with an EnOcean switch
Actuators
Creation of an actuator ("Teach In" mode)
Some devices, such as the Smart Plug NodOn, support the ‘Teach in’ mode which makes it easy to create a bidirectional actuator on your eedomus box.
Click on ‘’‘Configuration / Add or remove a device / Add another type of device / EnOcean “Teach In”’‘’ then follow the instructions on the screen.
eedomus will ask you to press the button for your EnOcean device, after which the device should be created.
Creation of an actuator ("Manual" mode)
In order to operate an EnOcean compatible device using the eedomus (e.g. a plug socket or other relay that does not support TeachIn mode), you can create an EnOcean actuator as explained above.
You can then link this actuator :
- either with another device (switch), a direct association
- or with the eedomus box, which will allow commands to be sent via the box.
In order to associate your actuator created in this way with your device, refer to the instructions for your device, assuming that the EnOcean actuator present in the eedomus portal behaves like a switch.
‘’‘Example of use with a lamp plugged into a EnOcean trunking socket:’‘’ Read the following carefully!
Create an EnOcean actuator on the eedomus portal by selecting ‘Lamp’ for use (enter a number [1-100] in ‘’virtual address‘’, no need to fill in ‘’sensor address‘’), then switch the socket to ‘’Learn‘’ mode (refer to its manual). Once in this mode, click on the new actuator and change its state as if it were a switch. When the socket has detected the new actuator, you can exit ‘Learn’ mode.
You can check that the EnOcean dongle is receiving data from your peripherals by analysing the small orange LED on the dongle. This lights up briefly when a packet is received or transmitted.
Translated with DeepL.com (free version)
Some devices tested with the eedomus box
See EnOcean devices list for longuer list.
Temperature sensor range 0/40°C TriO2Sys (10020033)
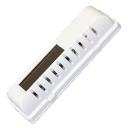
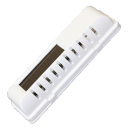
Temperature and humidity sensor TriO2Sys (10020041)
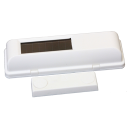
Door contact Tri02Sys (10020032)
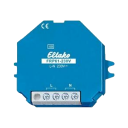
Wireless repeater 1 or 2 levels Eltako
Light and occupancy sensor Eltako
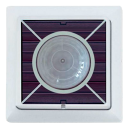
Outdoor humidity and temperature sensor range -20/60°C Eltako
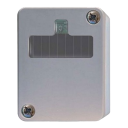
Occupancy sensor Verve
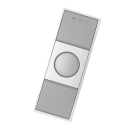
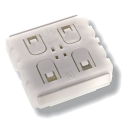
Rocker switch type PTM210
